Specific Steps for Disassembling and Repairing a Trailer Jack
- Share
- Issue Time
- Jan 20,2022
Summary
If you want specific methods for removing and repairing trailer jacks, you can find a wealth of useful information in this article.
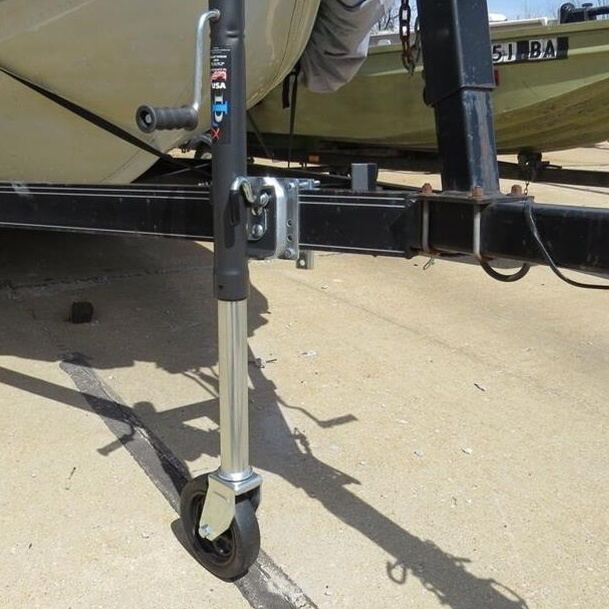
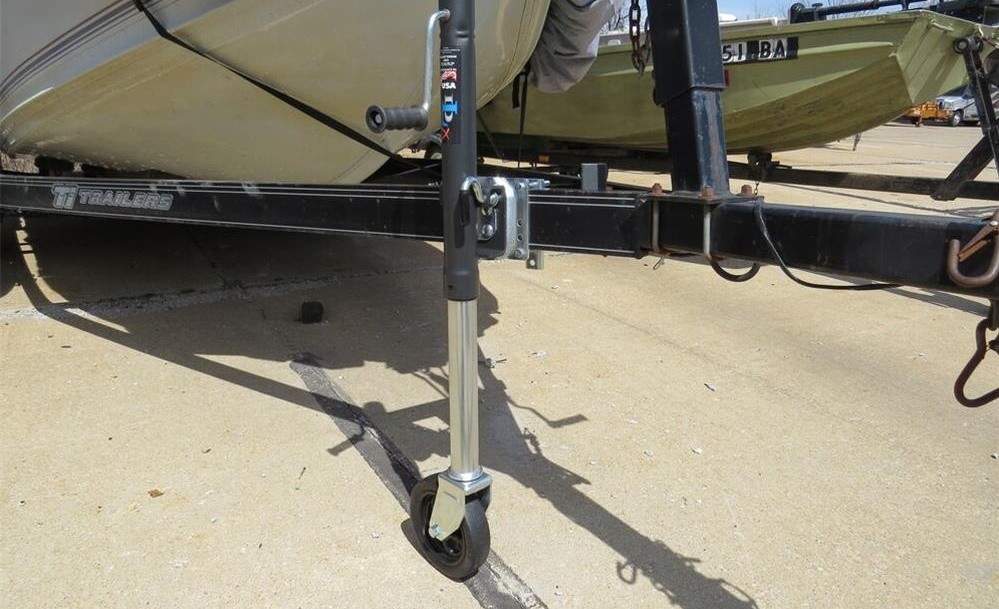
Trailers with a heavy tongue weight require some type of device to raise or lower the front of the trailer for the purpose of connecting it to the trailer hitch on a tow vehicle. A small, lightweight trailer can be lifted at the front by one person, but a large, heavy trailer needs a trailer jack to do the job. By turning the jack handle, the jack's caster wheel can be lowered to the ground to support the trailer tongue.
When the trailer jack encounters a failure during use, we need to disassemble and repair it in time. The specific steps to disassemble and repair the jack are as follows:
Disassembly steps
1. Turn the trailer jack handle in a clockwise direction to raise the front of the trailer until it is level. Secure the trailer from movement by placing wheel chocks under its wheels on both sides.
2. Place large blocks of wood or concrete blocks under the trailer tongue just behind the trailer jack to support the front of the trailer once the jack has been removed.
3. Turn the handle on the trailer jack in a counterclockwise direction until the trailer tongue is resting firmly and solidly on the blocks. Continue to turn the handle so that the caster wheel is off the ground.
4. Locate the bolts that attach the trailer jack to the tongue. Loosen and remove the bolts with a socket and ratchet.
Repair method
1. Unbolt the jack from the trailer frame and remove it. Some jacks are welded to the trailer; for those, raise the front of the trailer with a taller jack and support it on jack stands to work on the jack. Remove the pin or bolt attaching the jack handle to the body of the jack with pliers or a socket wrench and take the handle off.
2. Slide the interior screw assembly out of the tubular body of the jack. Pull the bearing and washers off the top of the screw assembly and clean them with mineral spirits, then polish with steel wool. Inspect the parts for damage and replace them if necessary.
3. Apply grease liberally to the threads of the screw assembly with a grease gun. Place the thicker of the two washers over the top of the screw assembly, add more grease. Place the bearing over the thick washer with the open side facing up, apply more grease. Place the thin washer over the bearing and apply a final coat of grease over the washer and handle attachment.
4. Insert the screw assembly into the tubular body of the jack. Slide the handle into position and attach it with the pin or bolt.
Bolt the jack to the trailer frame or lower the front of the trailer if the jack is welded in position. Lower and raise the jack through its full range of motion to check for smooth operation.
If you want to know more about trailer jacks after reading the above, please continue to pay attention to our news, we will update relevant articles for you in time.
As a professional manufacturer of trailer parts, we have accumulated rich manufacturing experience in this field. We have a professional production department and strict quality management system, which can control the quality of our products in an all-round way so as to provide customers with high-quality and safe products. At the same time, we can also provide thoughtful services and effective solutions according to customer needs. If you are interested in our trailer jacks, please contact us immediately!